trackme projection show
I created this projection show for my Experience Design class at Carnegie Mellon’s Entertainment Technology Center. Though this project, I developed an understanding of how to project onto 3D surfaces, as well as technical considerations when developing a visually cohesive show.
Projection Mapping
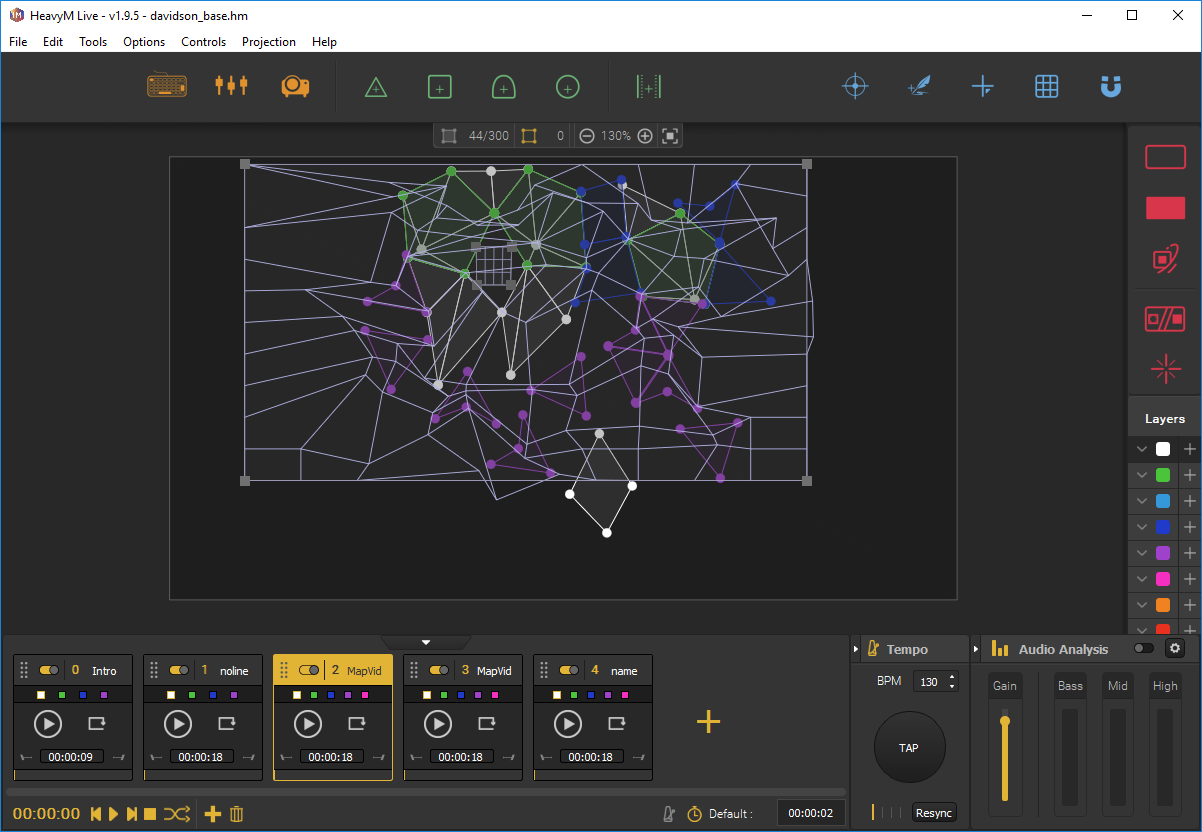
In order to project onto a 3D surface, The geometry must be accounted for when projecting a 2D video. In order to do this, I manually created the geometry of the polygonal objects in HeavyM. I then manipulated nodes on the video in to ensure the animations flowed through the space in an intuitive and visually pleasing manner.
I manipulated nodes on the video projection to accurately project onto the 3D polygonal objects (Screenshot inHeavyM).
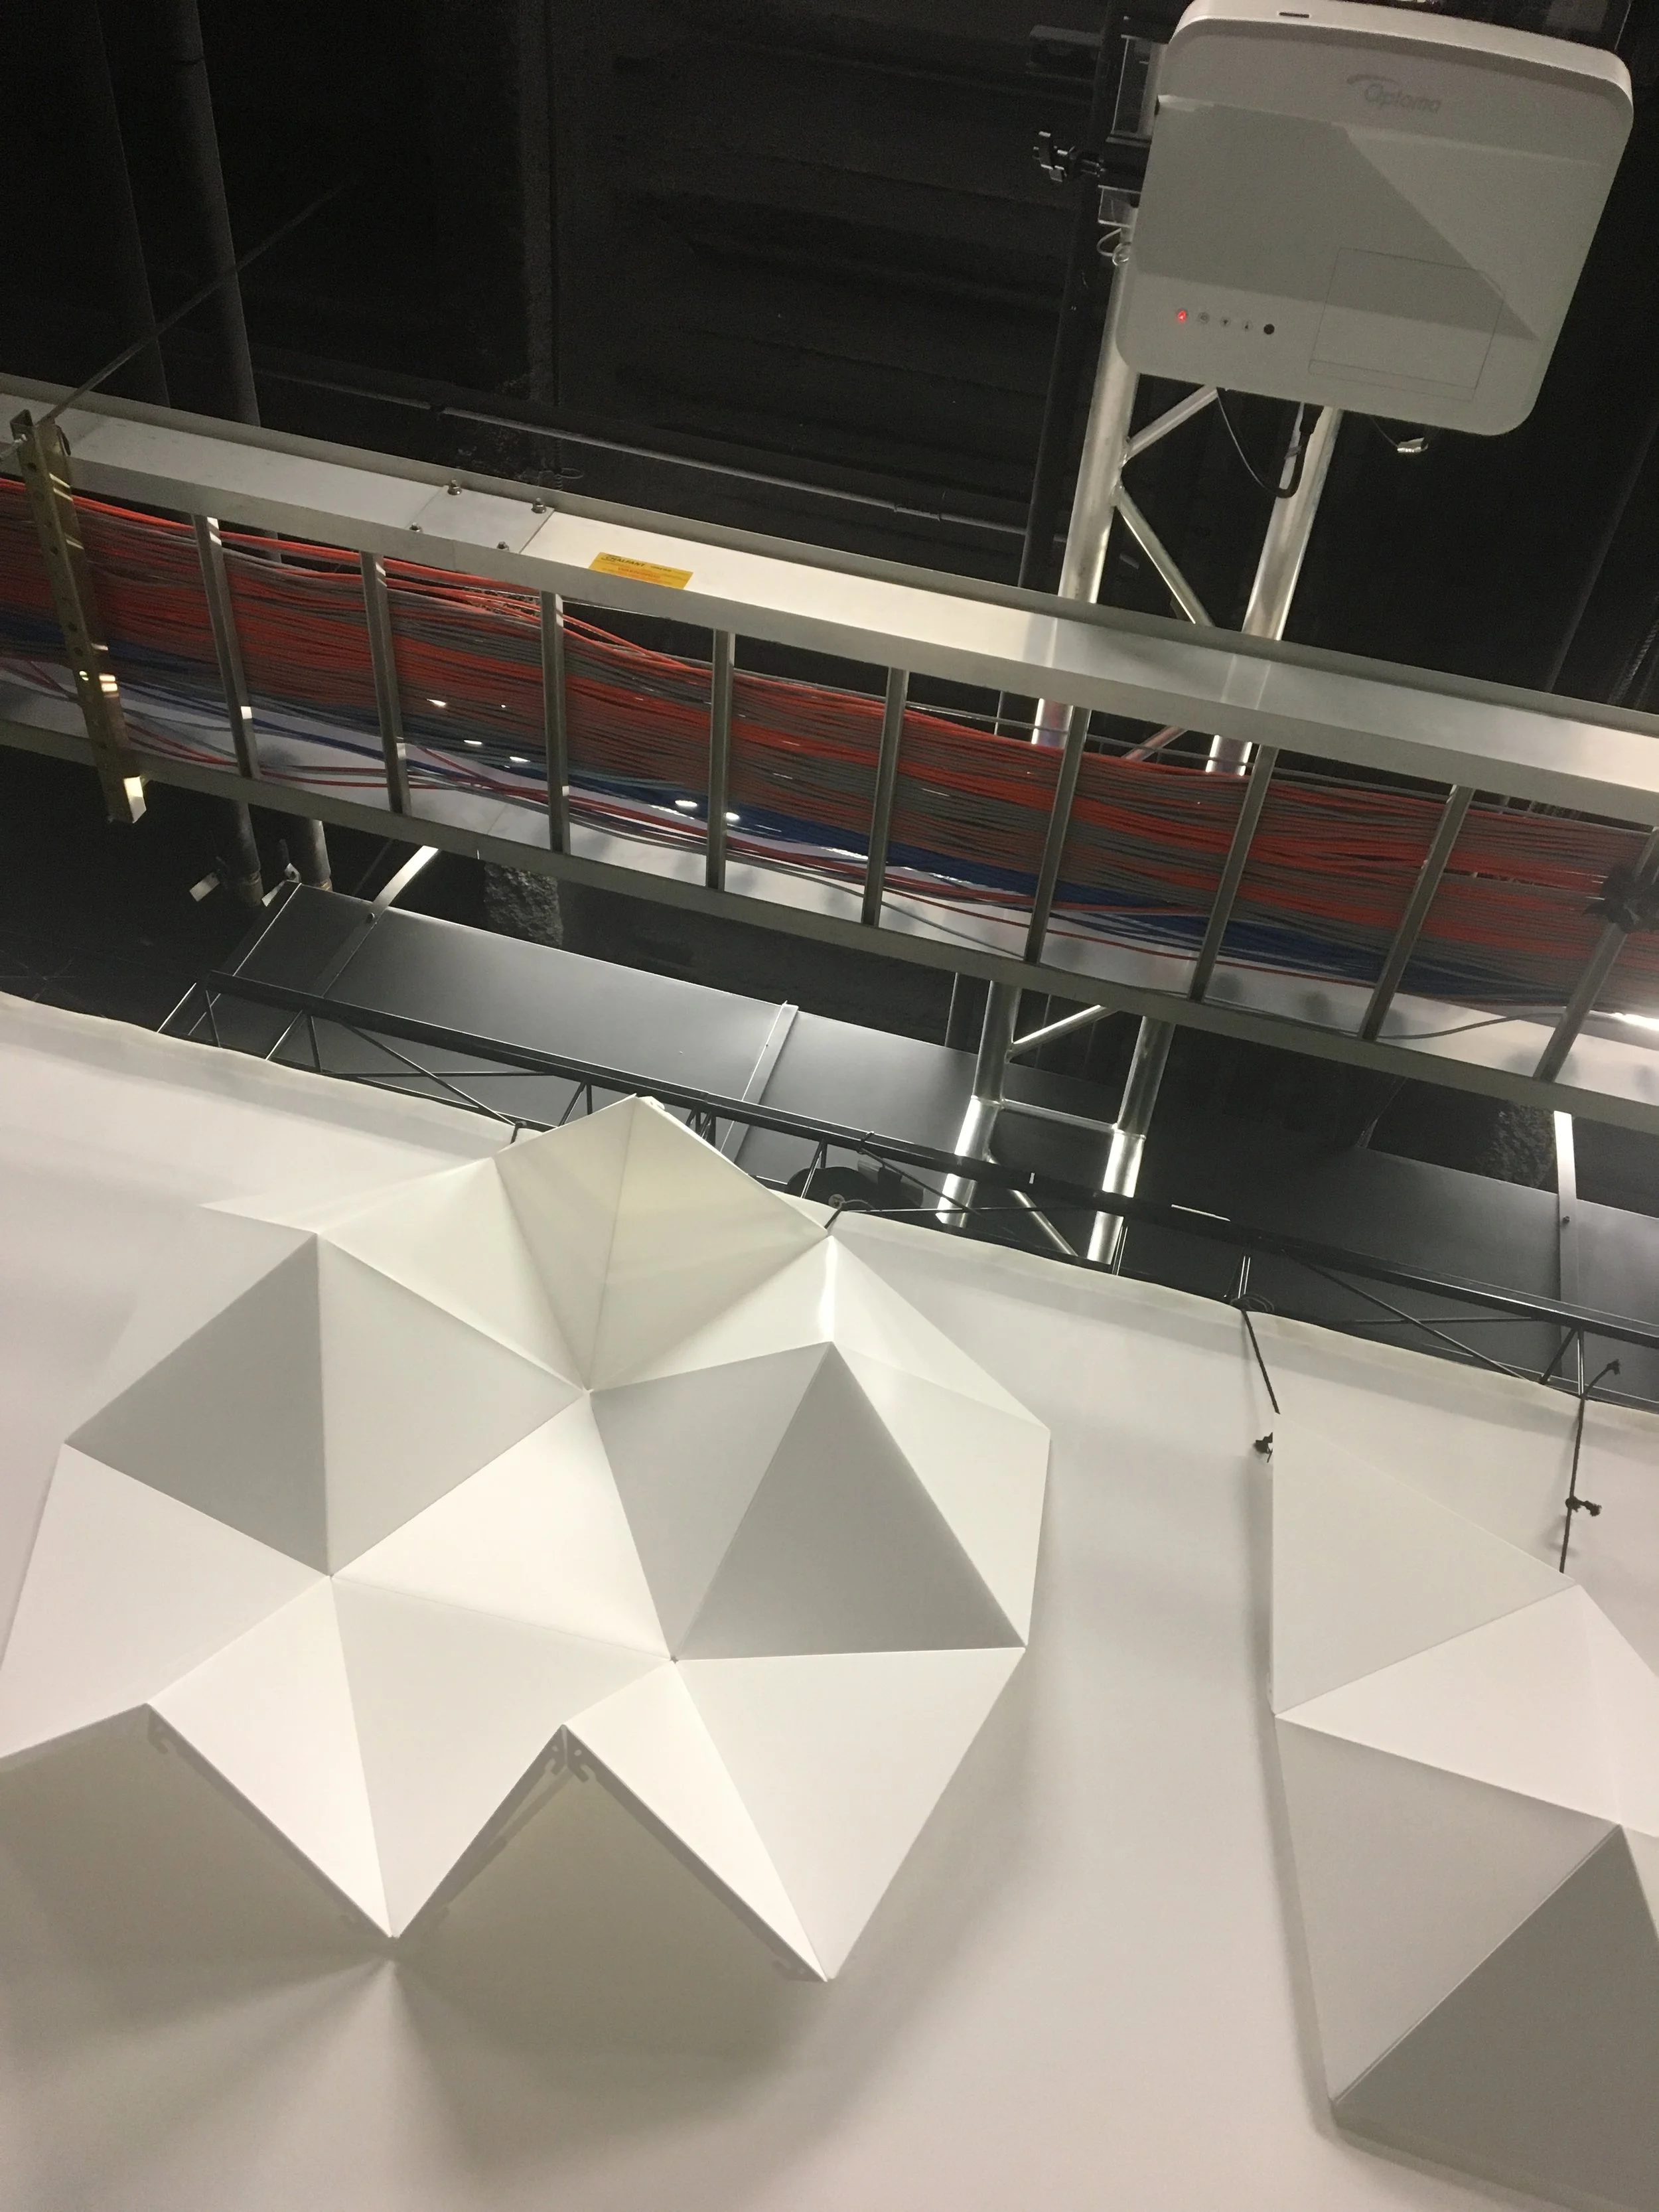
Configuration of short throw projector in relation to the polygonal objects.
Understanding and Working with constraints
In an ideal environment, the projector should be mounted perpendicular with the projection surface to minimize distortion and projection overlap. Due to the constraints of the space, a short throw projector was mounted to the ceiling. This configuration created unavoidable geometry overlap on the top-left of the 3D objects, as well as reduced brightness on surfaces on a downward angle. To minimize the visual impact, I added shapes onto the backdrop in order to unite the shapes and to draw they eye away from areas the projector could not accurately cover.
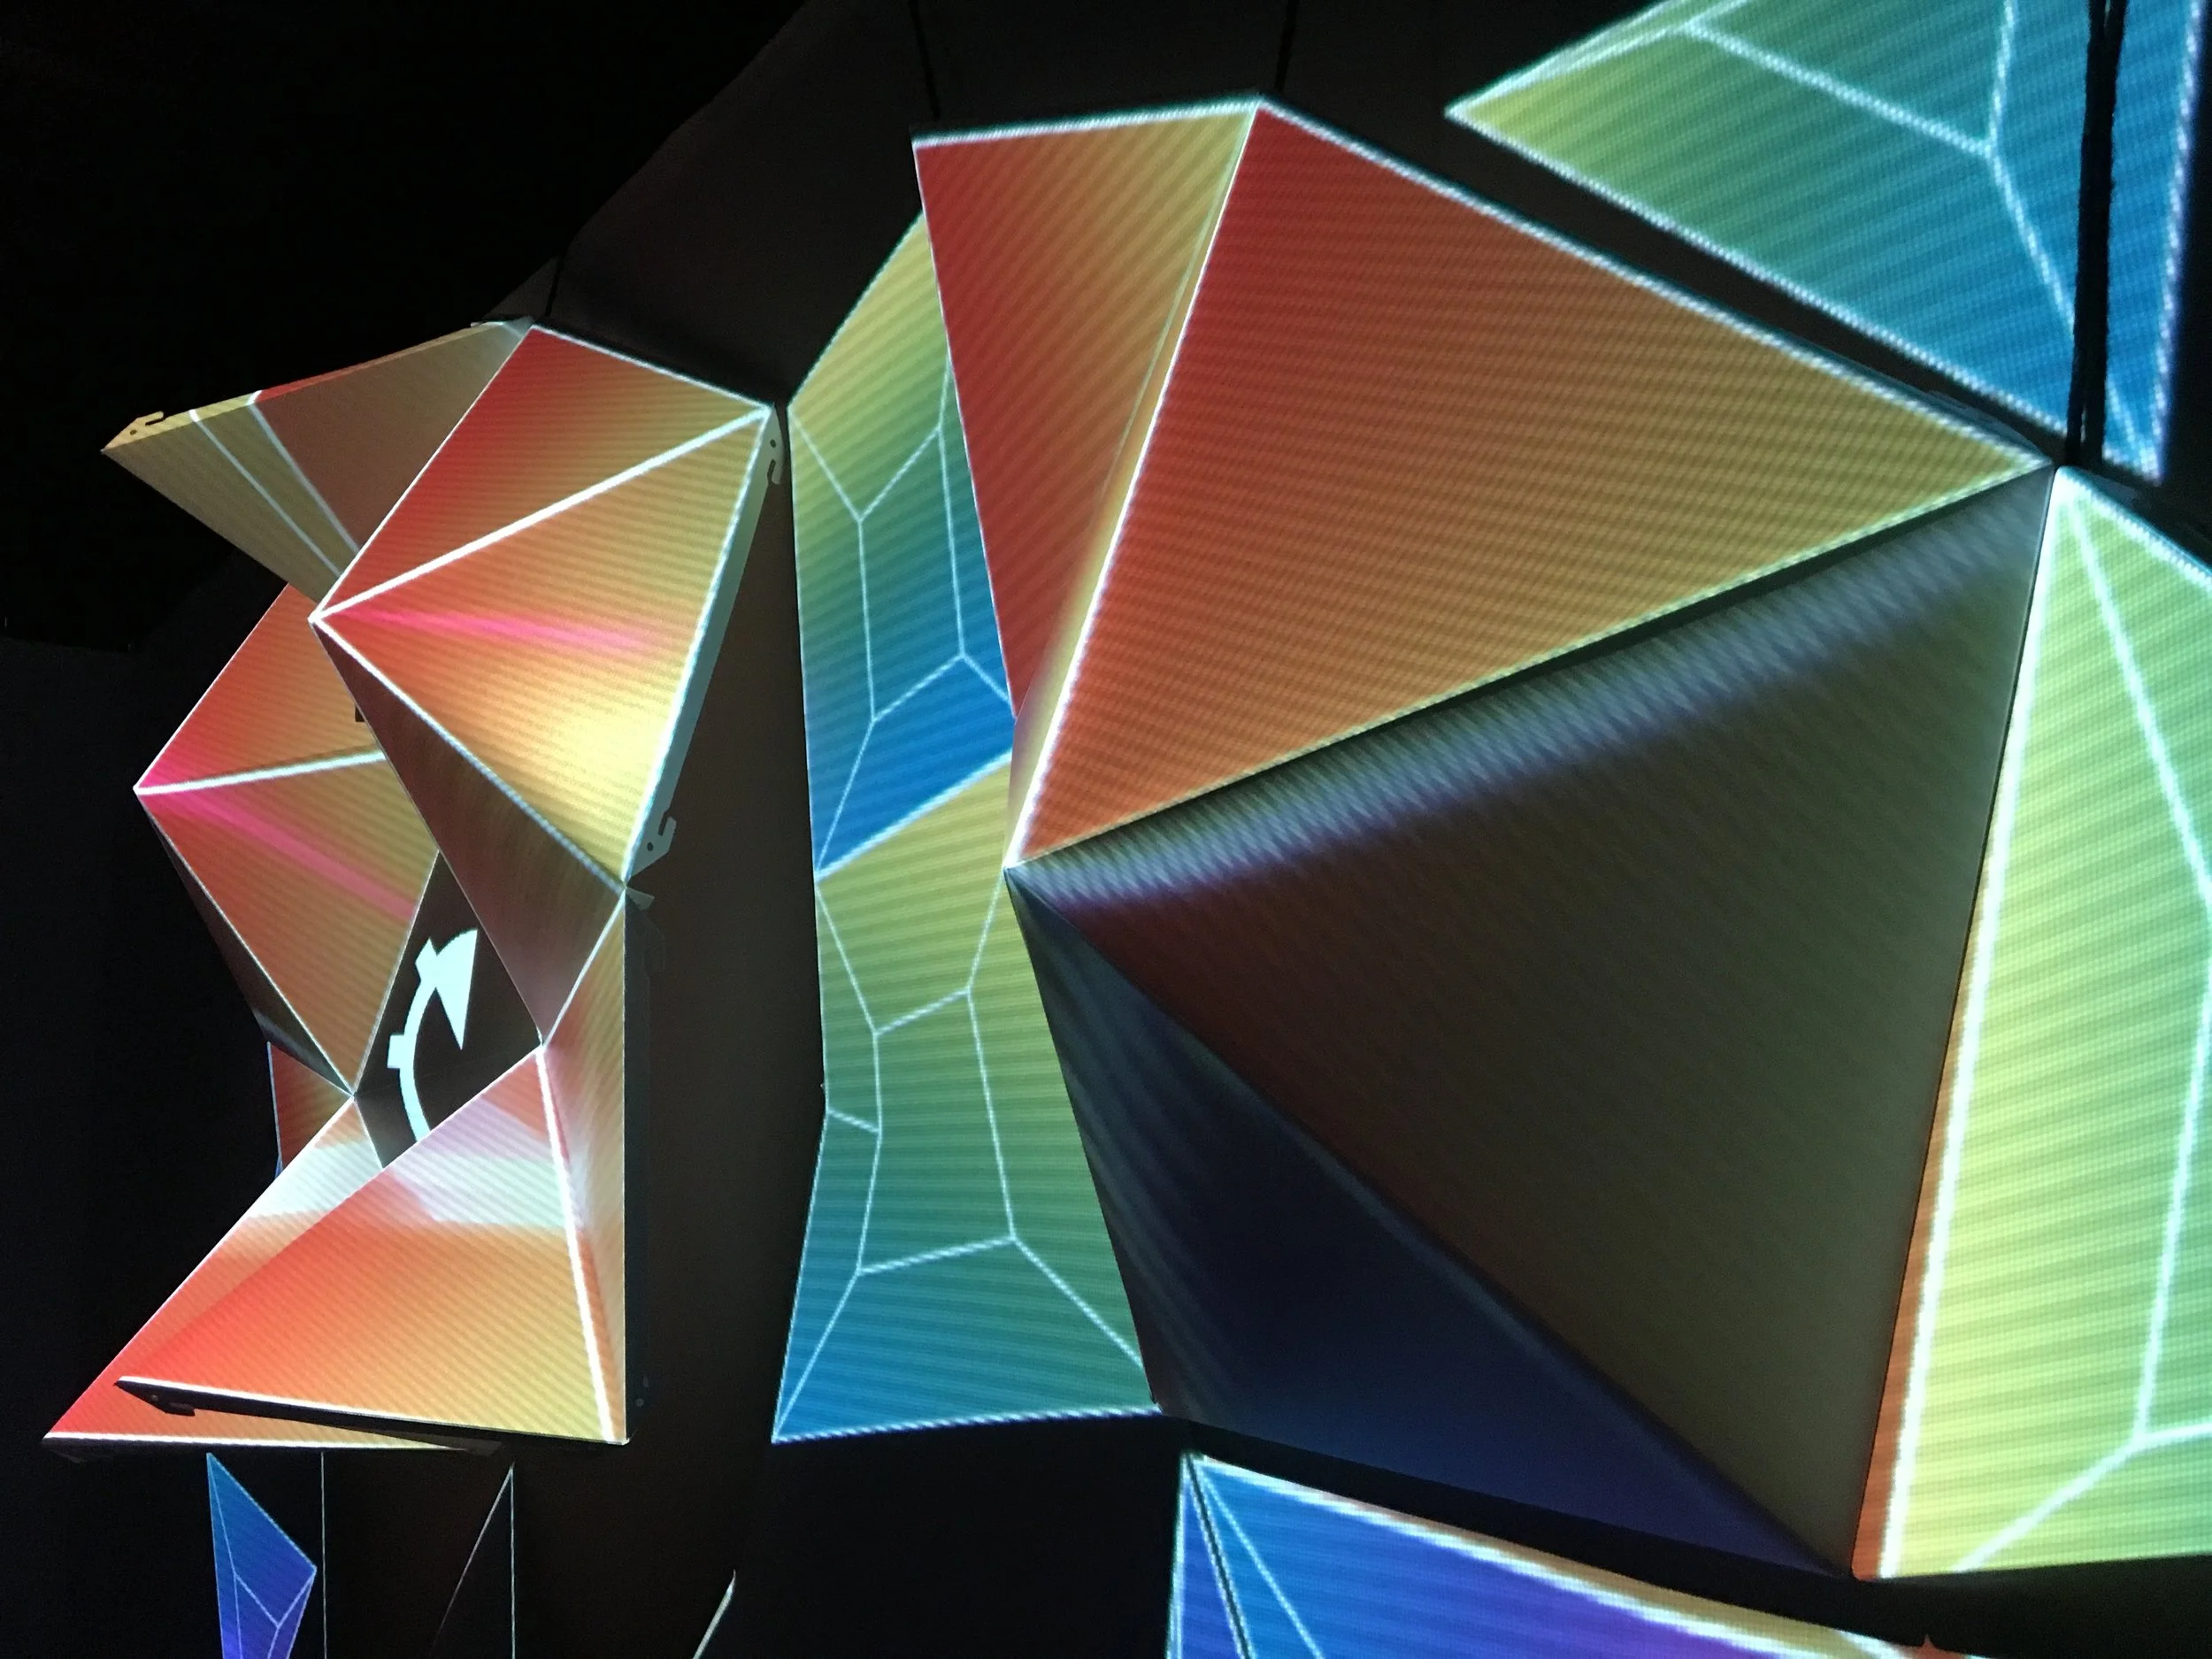
Testing locations and colors for shapes projected onto the background surface.
Surfaces facing downward have less light reaching them from the ceiling mounted projector.


